Last additions Last additions |
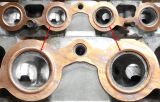
382 viewsJul 01, 2016
|
|
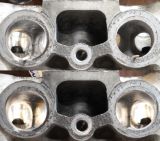
363 viewsJun 30, 2016
|
|
401 viewsJun 28, 2016
|
|
400 viewsJun 28, 2016
|
|
357 viewsJun 28, 2016
|
|
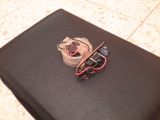
Step 09: tacho circuit and motor unit735 viewsonce you removed the five screws you can remove the unit for the conversionJun 22, 2016
|
|
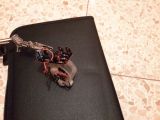
Step 12: resistor R2 (15k Ohm) partialy desoldered702 viewsresistor R2 (15k Ohm) partialy desolderedJun 22, 2016
|
|
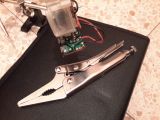
Step 11: solder points of resistor R2 (15k Ohm)752 viewsdesolder resistor R2, locking pliers are one way to pull the resistor leg loose once the solder point is softenedJun 22, 2016
|
|
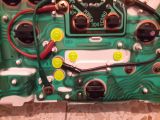
Step 08: screws (5) holding the circuit and motor in place711 viewsunscrew these 5 screws to remove the circuit and motor (the two items are fixed together and come off as one)Jun 22, 2016
|
|
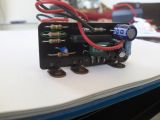
Step 10: resistor R2 (15k Ohm)699 viewsthis is the resistor R2 (15k Ohm) that needs to be replaced with a 10.2k Ohm unitJun 22, 2016
|
|
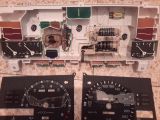
Step 07: circuit and motor revealed686 viewsonce you removed the two fascia panels and light distribution thinggies, the circuit board and motor are revealed - this is what we have to remove in the next step.Jun 22, 2016
|
|
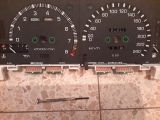
Step 04: fascia screws (4)708 viewsremove the 4 screws holding the two fascia panels in placeJun 22, 2016
|
|
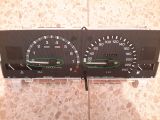
Step 03: tacho and speedo needle668 viewsremove the 2 needles, a thin fork makes it easier (just put something between the fork and fascia to prevent scratches)Jun 22, 2016
|
|
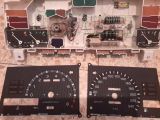
Step 06: light distributors682 viewsremove the two light distributors, they are not screwed in anymore just held in position with two locating pegsJun 22, 2016
|
|
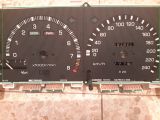
Step 05: fascia panels681 viewsremove the two fascia panelsJun 22, 2016
|
|
| 4185 files on 279 page(s) |
 |
|
|
|
|
|
219 | |
|
|
|
|
|
|